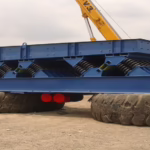
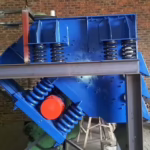
Generally used to guide the movement of the conveying surface in the desired direction, rocker leg (or ductile stabilizer) condition should be inspected as per the pm schedule for each machine.
Once the rocker leg has been identified as needing to be replaced the rocker leg should be replaced immediately to avoid damaging the other rocker legs or the structural integrity of the machine.
Safety First:
Lockout: Lockout all related machines being worked on in accordance with your facilities Lockout-Tagout procedures.
Machines must be at Zero Mechanical State. (this normally means that the eccentric on the shaft will be hanging down.)
Review the Safety section on page 1 of all of General Kinematics Service Manuals.
Procedures for Changing Rocker leg
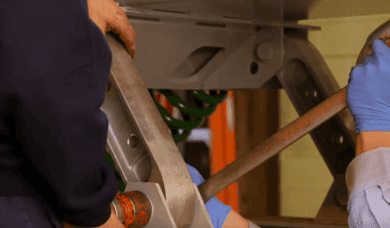
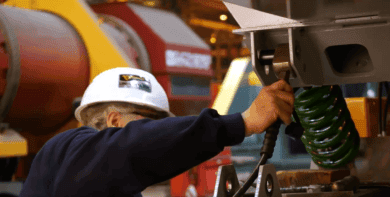
1.) Loosen and remove fasteners for the rocker leg
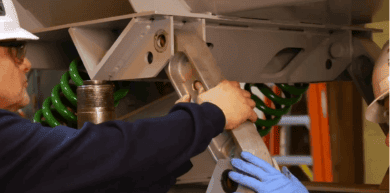
2.) Remove the leg assembly from the machine.
** you may need to use a pry bar or porta power to remove the rocker leg from between the mounting clips**
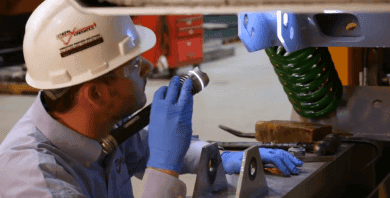
3.) Inspect the rocker leg clips if any of the following are not satisfactory, the mounting clips will need to be replaced.
1. Bolt holes must be round and of original size. If the holes are elongated oversized or beat out, the clips must be replaced.
2. The inside of the clips must be smooth and flat for proper clamping of the serrated face of the rocker leg bushing. If the surface is worn or damaged, it must be replaced.
3. Inspect the clips and the clip to frame wall for cracking and other damage. If cracks are found the clip should be replaced. DO NOT attempt to repair a damaged clip. Replacement clips should be ordered from General Kinematics only.
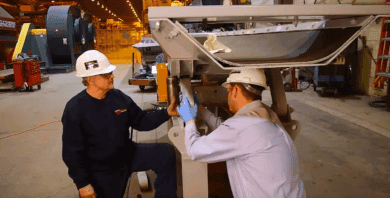
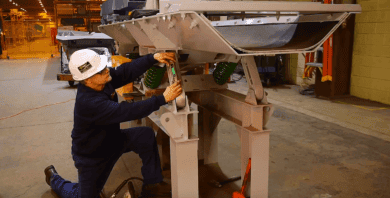
4.) Install the new rocker leg
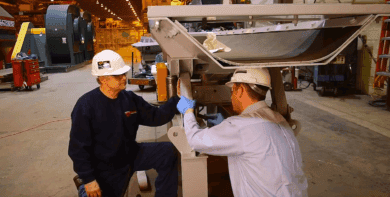
1. Insert the lower end of the leg into the lower mounting clip and install but do not fully tighten the hardware
2. The rocker leg should be a snug fit into the clip so the neutral face of the inner steel valve of the bushing will be tightly clamped when the bolt is torqued up. **It may be necessary to use a Port-a-Power to spread the Mounting Clips before positioning the Rocker Leg.**
3. To install the upper end of the rocker leg, rotate it into place and repeat the previous steps. **If the upper bushing does not align with the clips this problem must be addressed before proceeding.**
4. Once both ends of the Rocker Leg are installed, the fasteners must be tightened and torqued to the torque specified for that size fastener in the torque table found in the GK service manual for this machine.
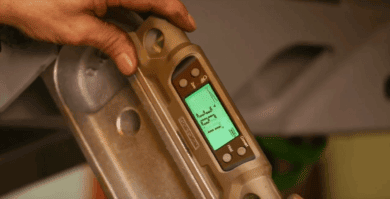
5.) Check the rocker leg angle and compare it to the other legs on the machine. All of the rocker legs for that portion of the machine, trough, or balancer must be within the allowable tolerance of + or – 1 degree of each other. If you need a reference, the design angle will be shown on the GKC engineered drawings.
6.) After 20-24 hours of operation, re-torque the rocker leg mounting bolts.
If you are going to change out all or many rocker legs, please contact us as there are many additional steps that must be done to assure your safety and the long-term integrity of the machine.