This post will take you through the step by step instructions to installing a Nautilus Plate Poly Rail on your General Kinematics Equipment.
Safety First:
Lockout: Lockout all related machines being worked on in accordance with your facilities Lockout-Tagout procedures.
Machines must be at Zero Mechanical State. (This normally means that the eccentric on the shaft will be hanging down.)
Review the Safety section on page 1 of all of General Kinematics Service Manuals.
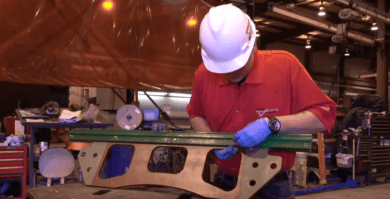
Installing your Nautilus Plate Poly Rail:
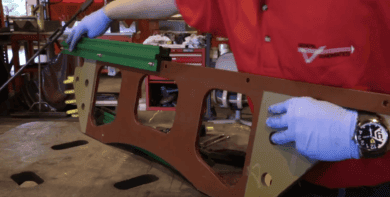
1.) Inspect the Nautilus Plate to make sure there is no foreign material like dust or dirt that can get between it and the poly rail during installation.
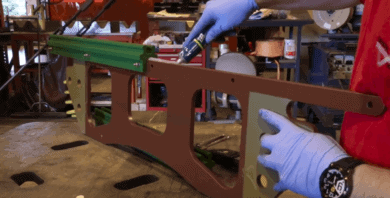
2.) Apply a ⅜ inch or 10mm bead of silastic or RTV to the top surface of the Nautilus Plate.
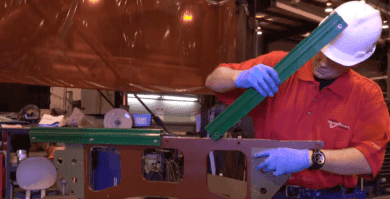
3.) Align the first section of the poly rail to the end of the Nautilus plate.
4.) Place one bolt with a washer through the side. **All bolts and fasteners need to be going the same direction.**
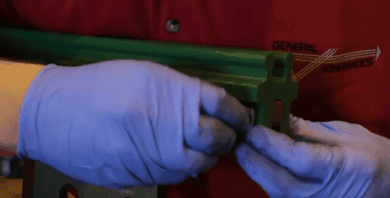
5.) Repeat the previous step with all of the fasteners on the first section of the rail.
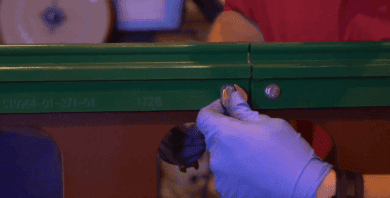
6.) Tighten all hardware down with a wrench until they no longer turn.
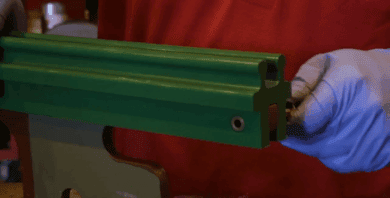
7.) Line up the second section of the rail to the Nautilus plate. If these poly rails have cutouts on the bottom. Place them opposite of each other on the Nautilus plate with one cutout facing each end.
8.) Install the second poly rail the same way as the first one.

9.) Wipe off any remaining silastic or RTV on the rails.

10.) Reinstall according to the GK Drawing for the Screener.
If you’re unsure if the repairs or modifications you’re planning to do will affect your equipment, please contact us. We want to make sure that you take all appropriate steps to ensure your safety, success, and the long-term integrity of the machine.